📷 Introduction & Requirements
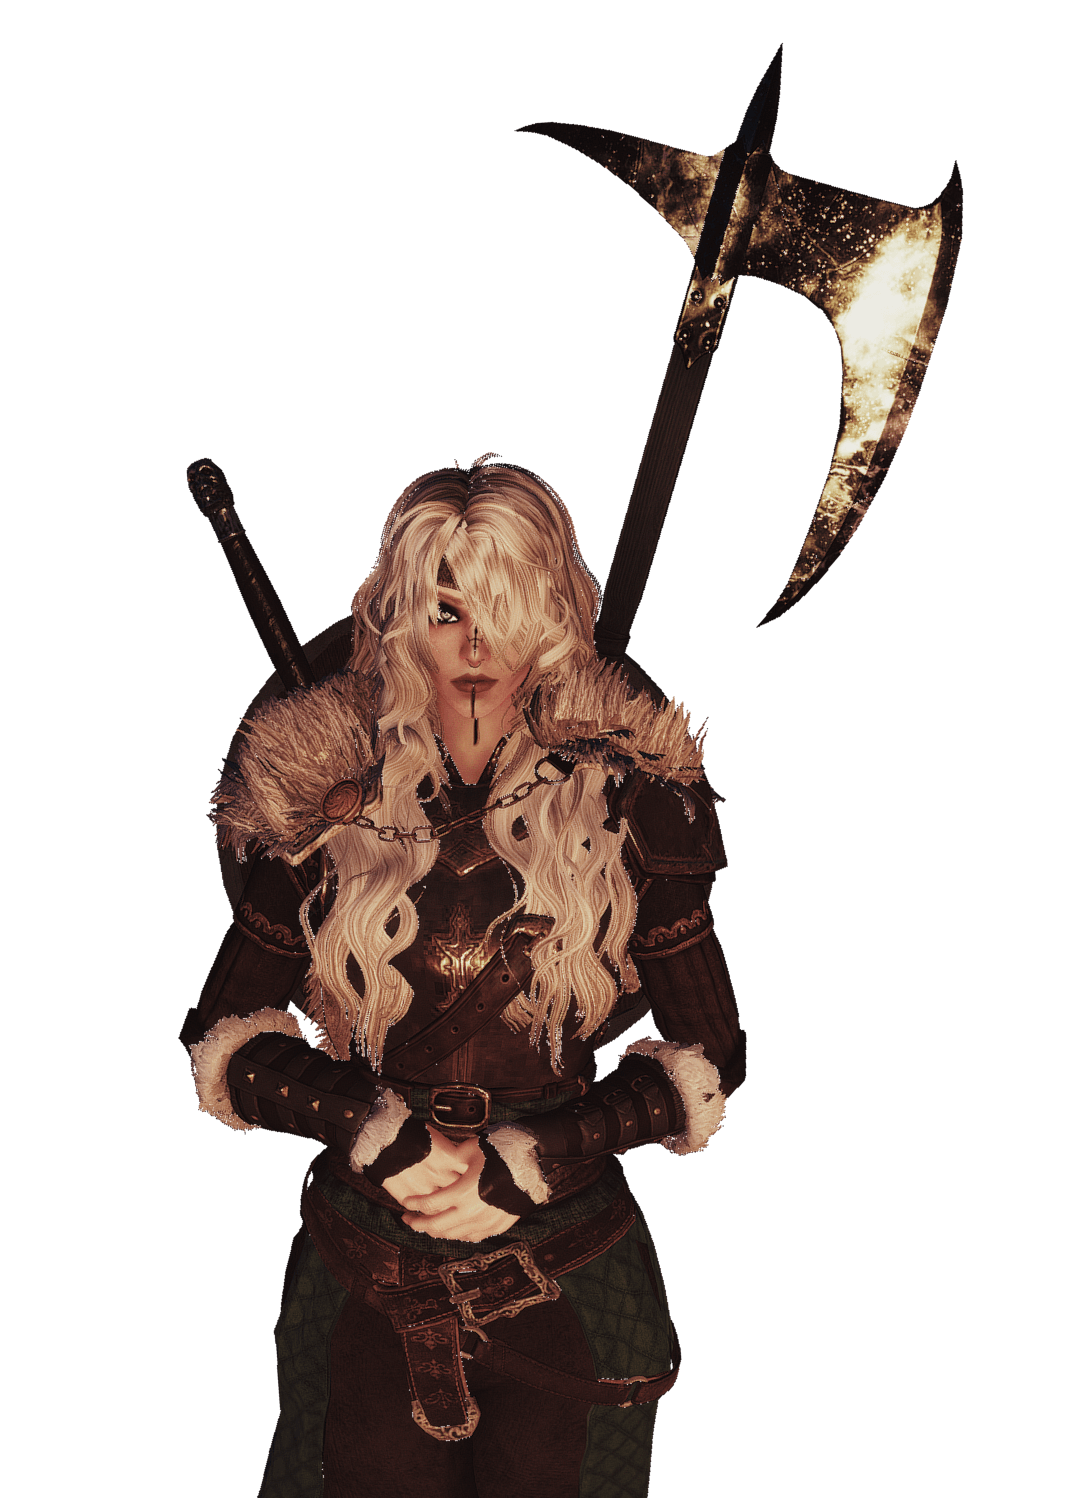
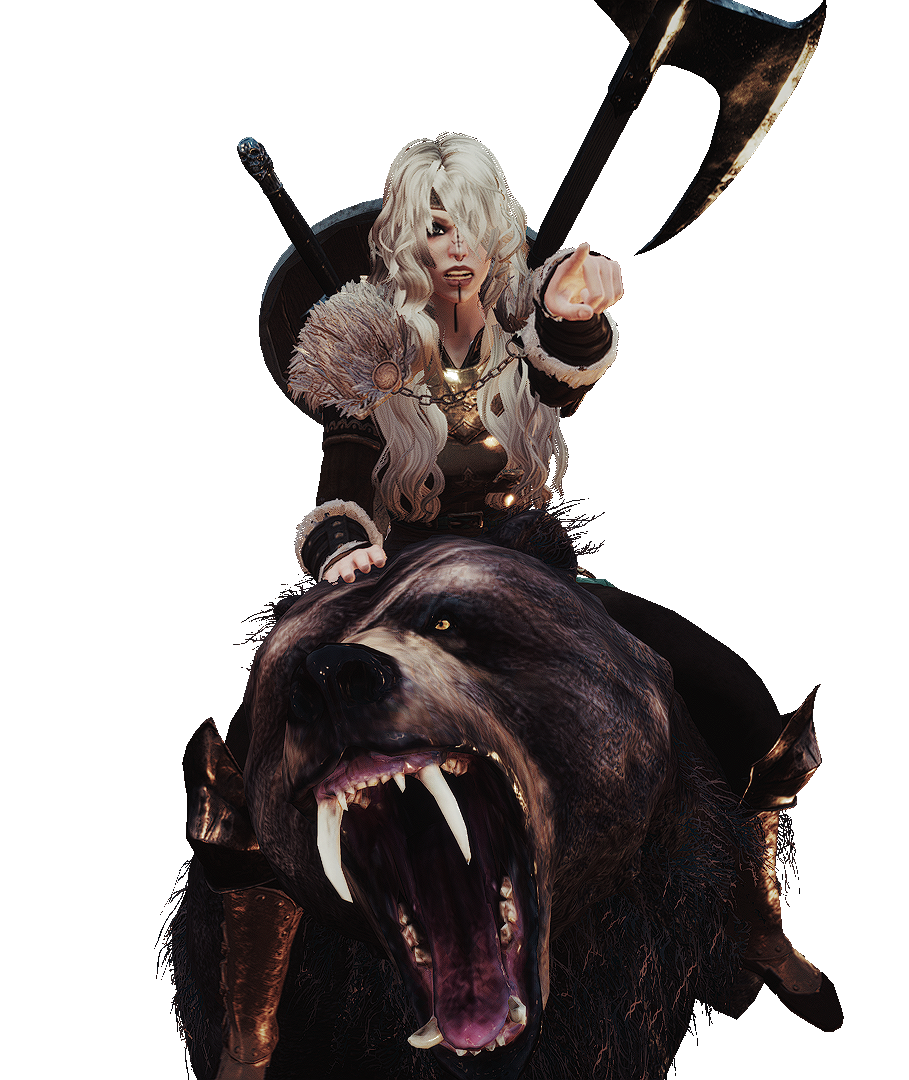
The process is actually much simpler than it looks thanks to ToT's Camera Mode. With just a few settings and a basic image editor, you can remove the background from your screenshots in only a few minutes.
This guide will walk you through the entire process, from capturing a clean image in-game to removing the background in an editor. Whether you want to create transparent renders for banners, profile pictures, wiki pages, roleplay materials or other creative projects, this method gives you a fast and reliable way to do it.
By using Tot's Camera Mode, you can place your character against a solid background, making it extremely easy to isolate them from the screenshot.
Any editor that supports transparency and color selection will work.
Before you begin, make sure you have the following:
-
A photo editor that supports transparent images:
 GIMP
(Free) or
GIMP
(Free) or
 Adobe Photoshop
.
Adobe Photoshop
.
- Tot!Custom installed on your client.
- Your imagination.
This guide uses GIMP for demonstration purposes because it is completely free. Photoshop users can follow the exact same workflow, although some tool names may differ slightly.
We will first place your character against a clean, solid background using Tot!Custom, capture the image, select that background in your image editor and remove it. The result is a clean character render with a transparent background that can be used almost anywhere.
Step 1 — Enter Tot! Photo Mode
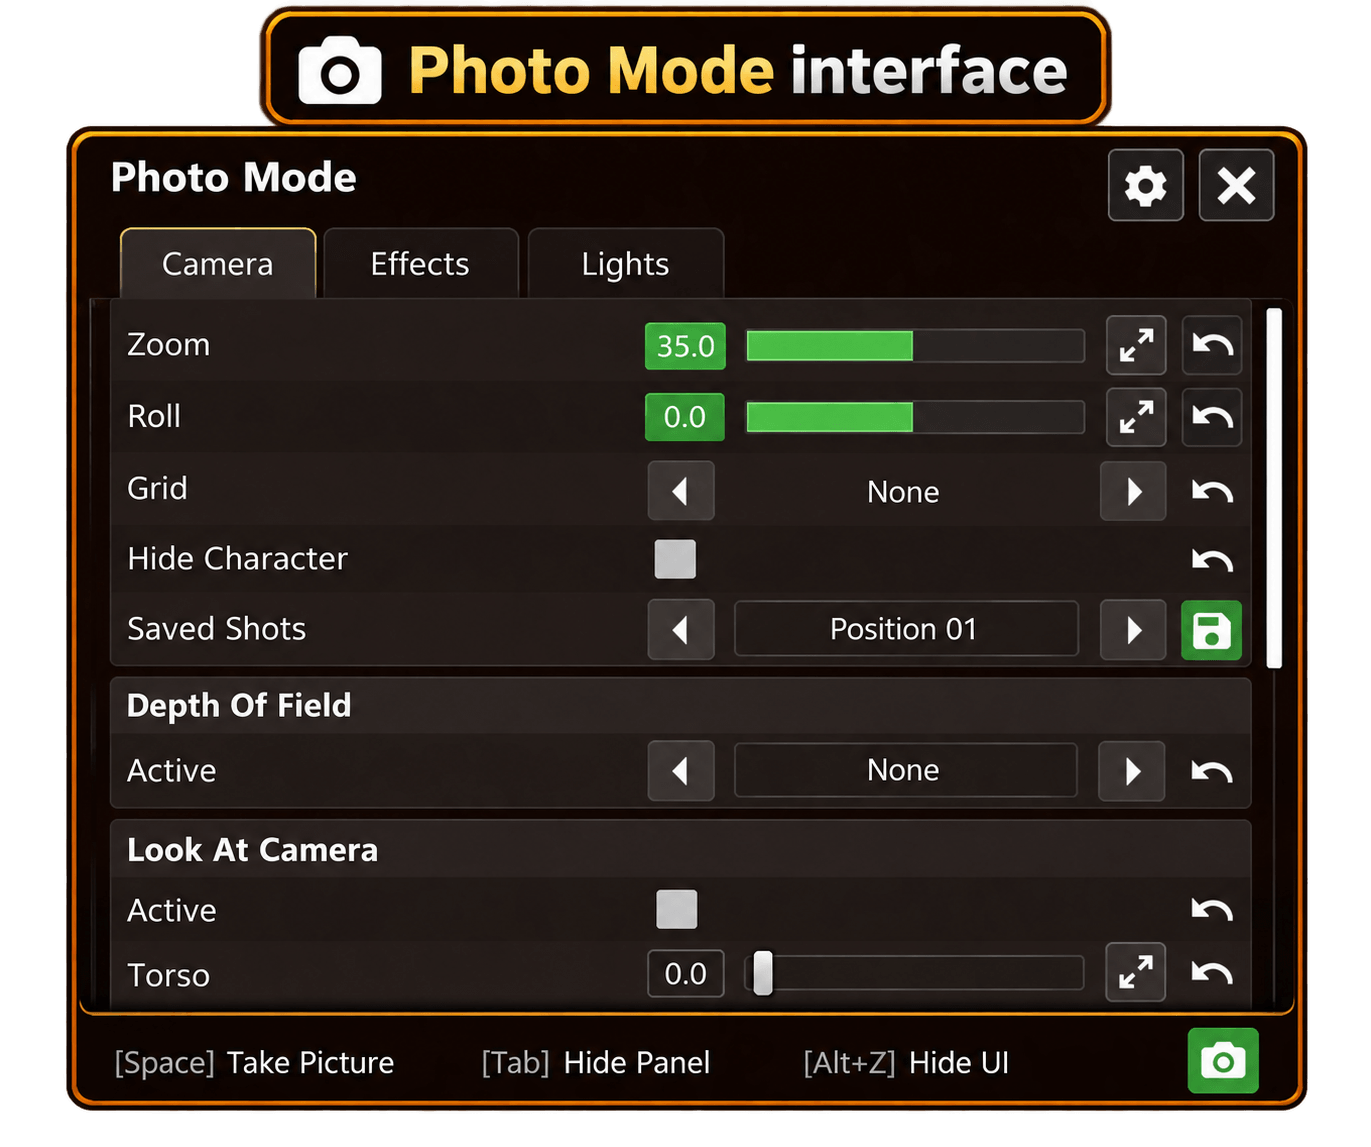
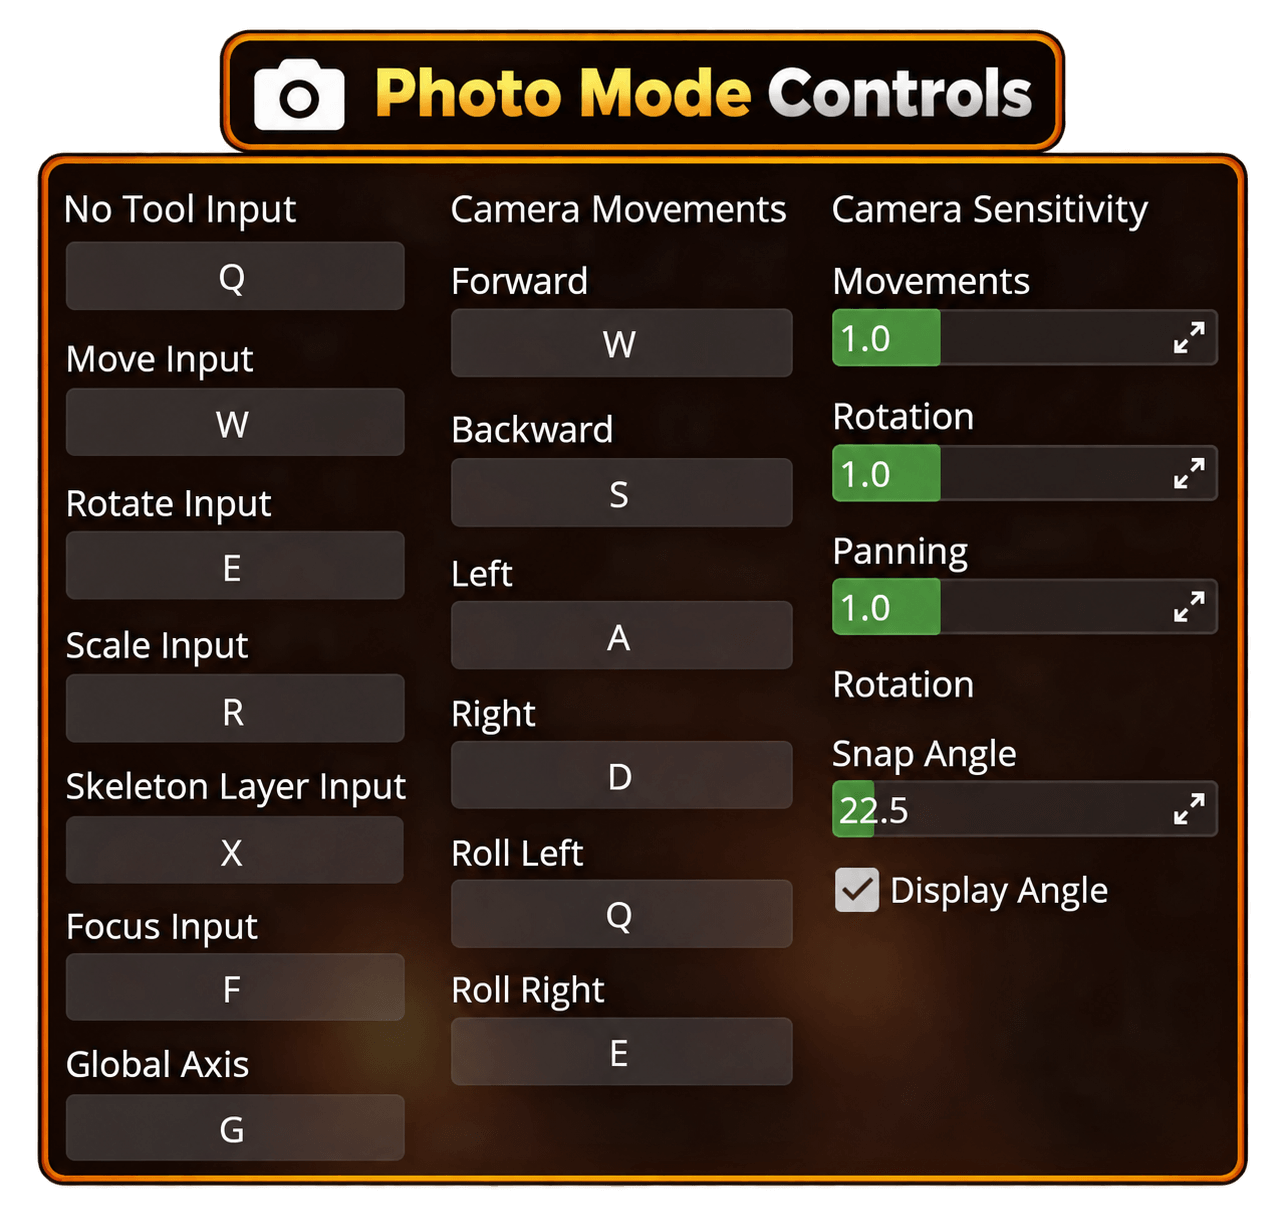
Press CTRL + B while in-game to open Photo Mode.
This keybind can be customized through the Tot Player Panel if you have rebound it previously.
Camera Mode allows you to isolate your character against a solid background, making it extremely easy to remove later in your image editor.
Step 2 — Choose a Solid Background Color
The background color is the most important part of creating a clean cutout.
Choose a color that contrasts well with your character.
| Background Color | Recommended For |
|---|---|
| ⬜ White ⬜ | Dark hair, darker clothing, darker complexions. |
| ⬛ Black ⬛ | Light hair, pale complexions, bright clothing. |
| 🟩 Green 🟩 | Useful when your outfit contains both black and white elements. |
Your goal is simply to create the greatest possible contrast between your character and the background.
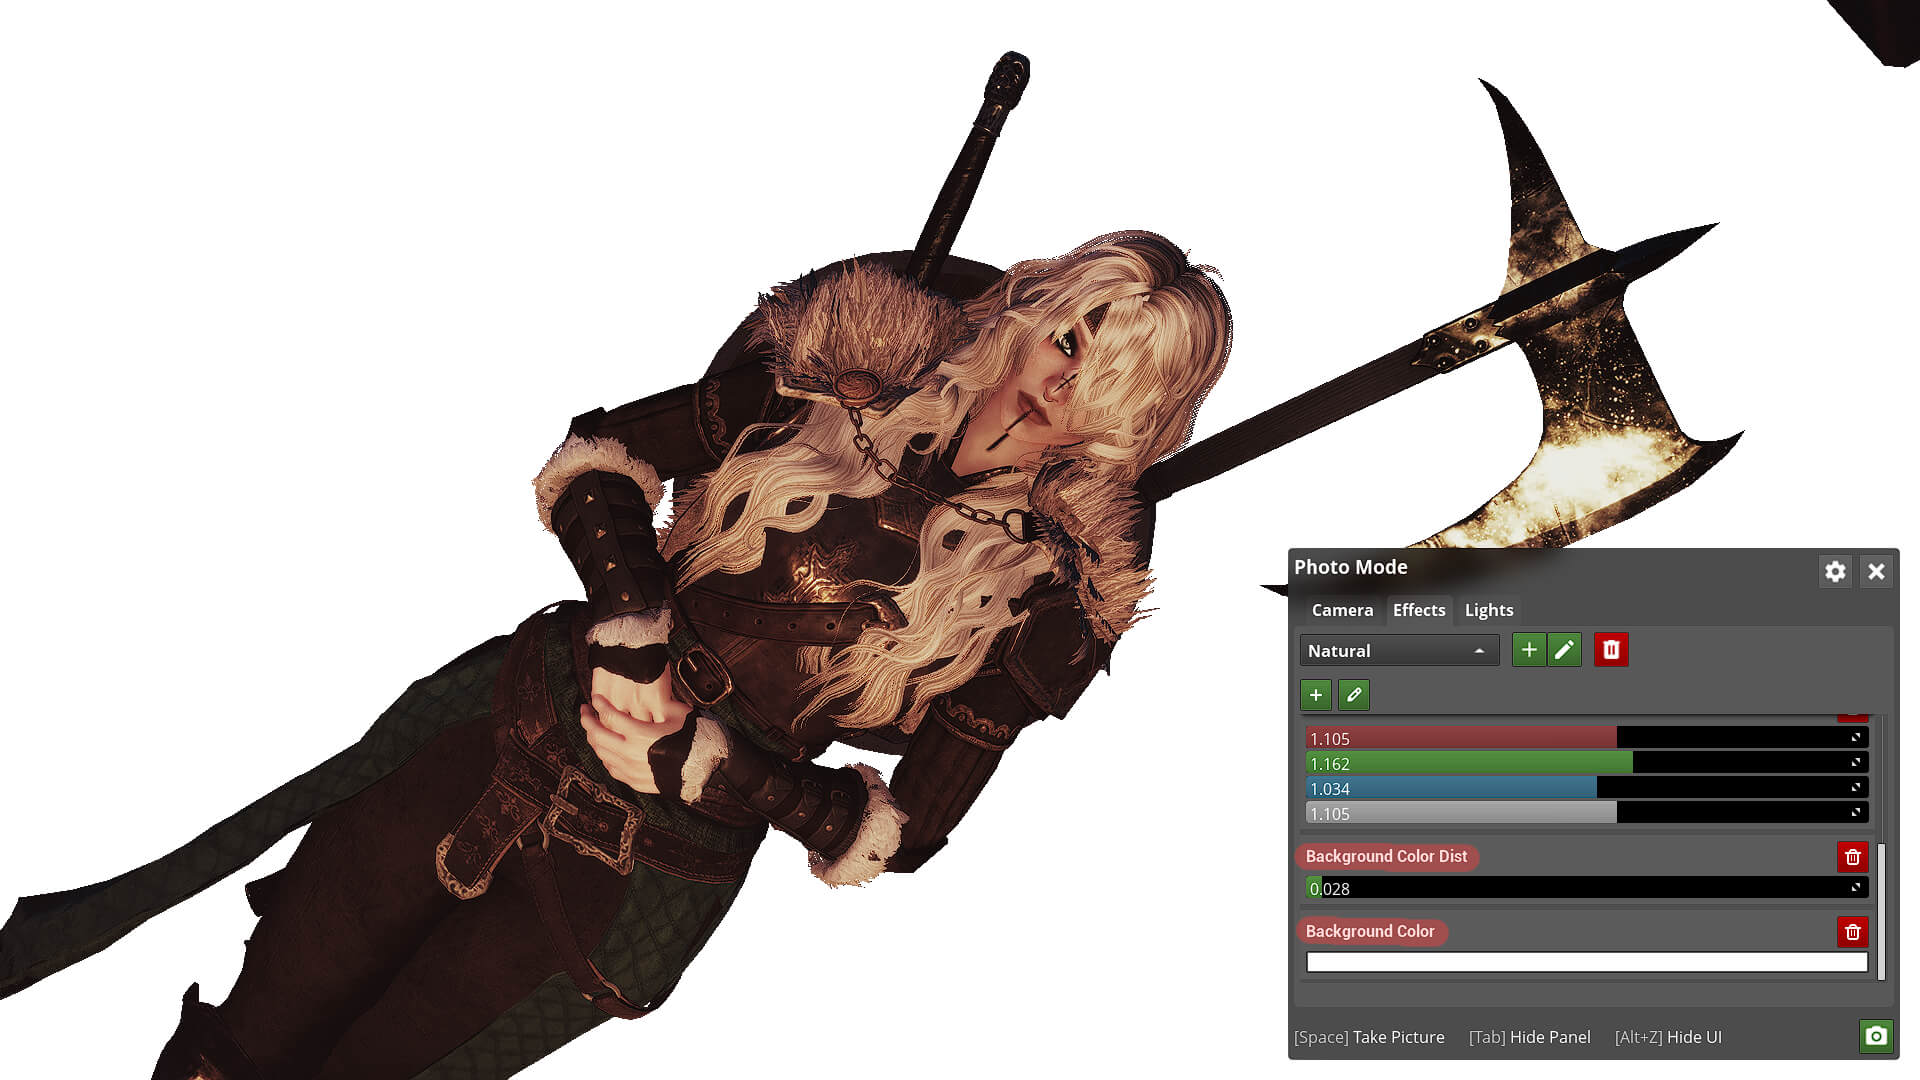
Step 3 — Open the Screenshot in Your Image Editor and Select the Background By Color
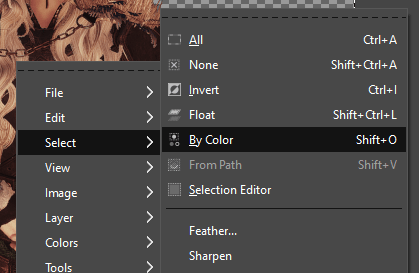
Open your newly captured screenshot in your preferred image editing software.
This guide demonstrates the process using GIMP, although Photoshop follows nearly the same workflow.
In GIMP:
- Right-click the image.
- Select Select By Color.
- Click only the solid background.
The selection should highlight the entire colored backdrop while leaving your character untouched.
Step 4 — Adjust Feathering (If Necessary)
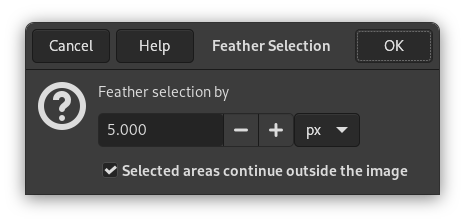
Step 5 — Remove the Background
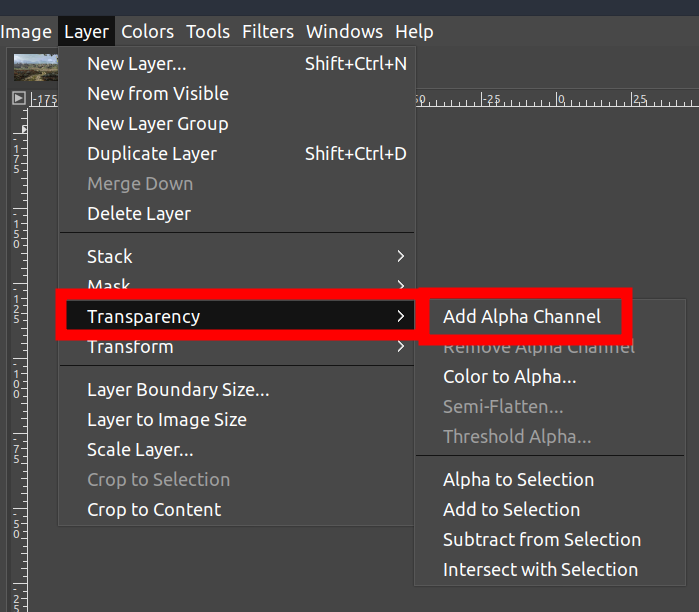
Once the background has been selected:
- Right-click the image.
- Select Edit → Cut.
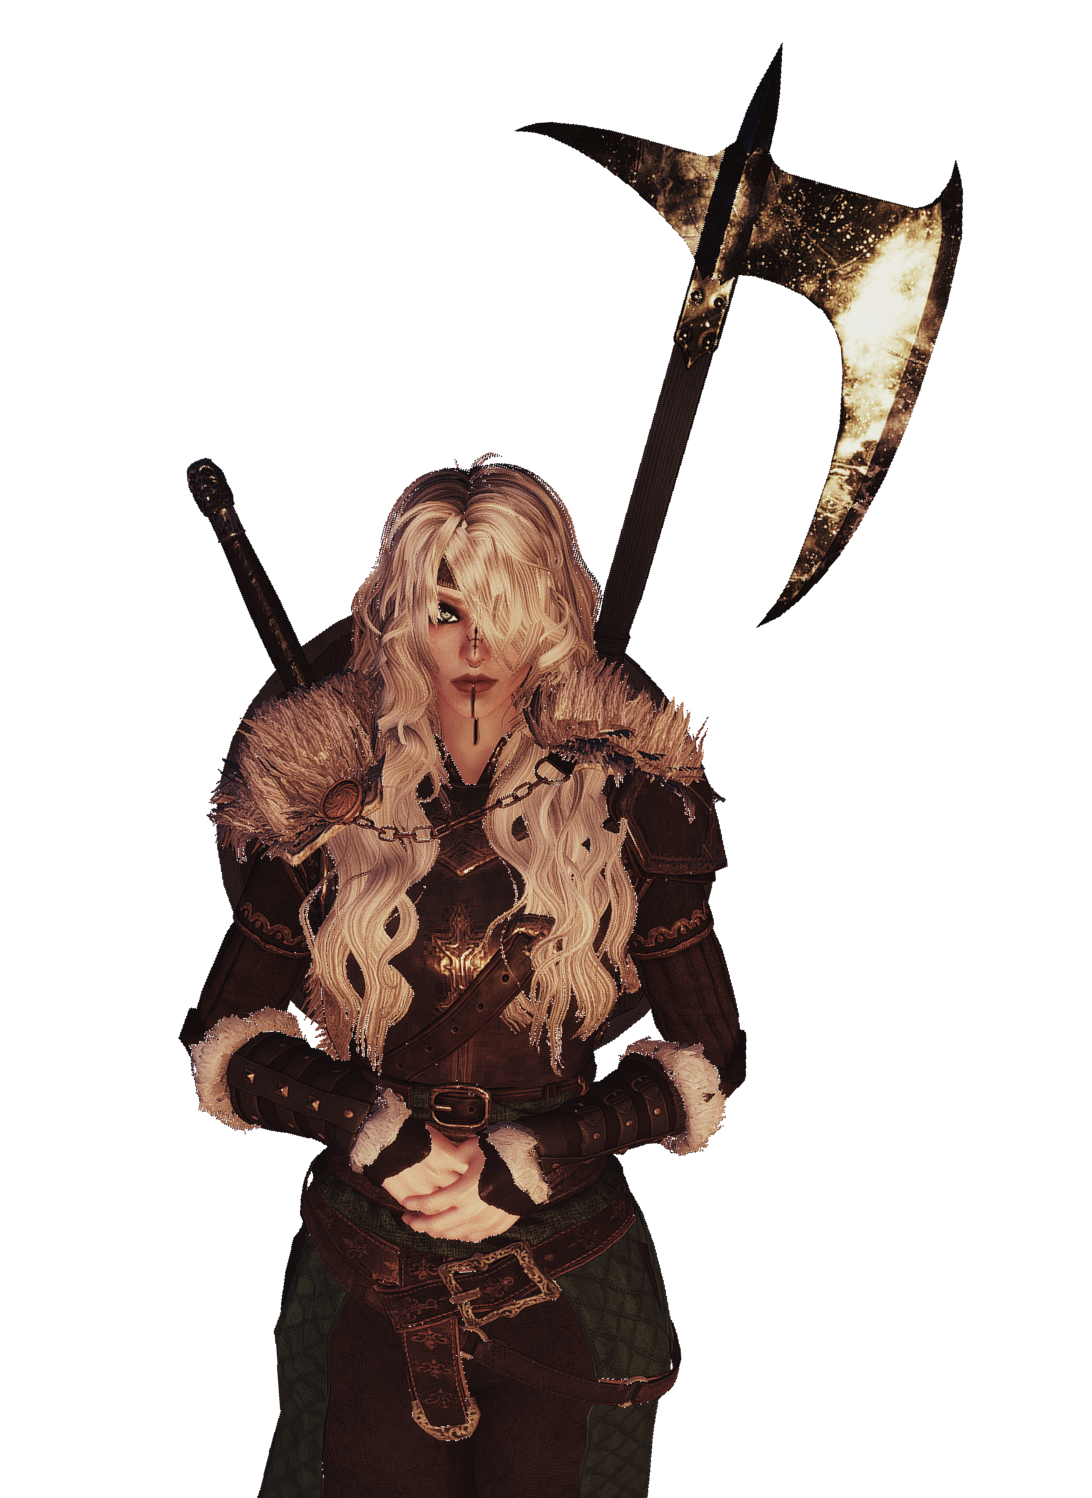
If everything was selected correctly, the solid background will instantly disappear, leaving only your character.
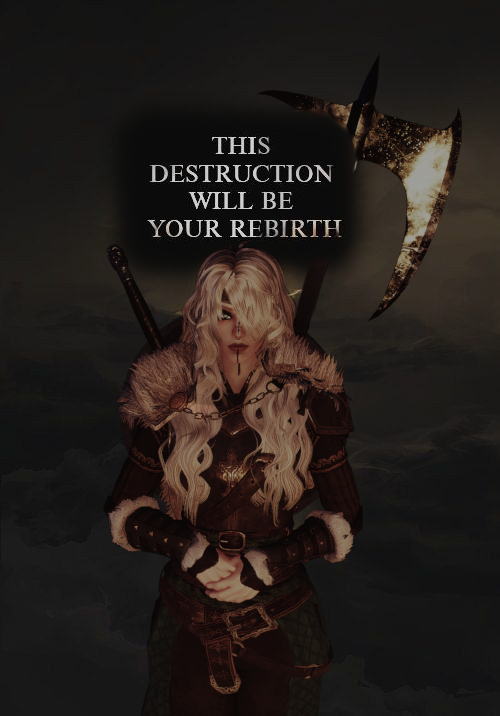
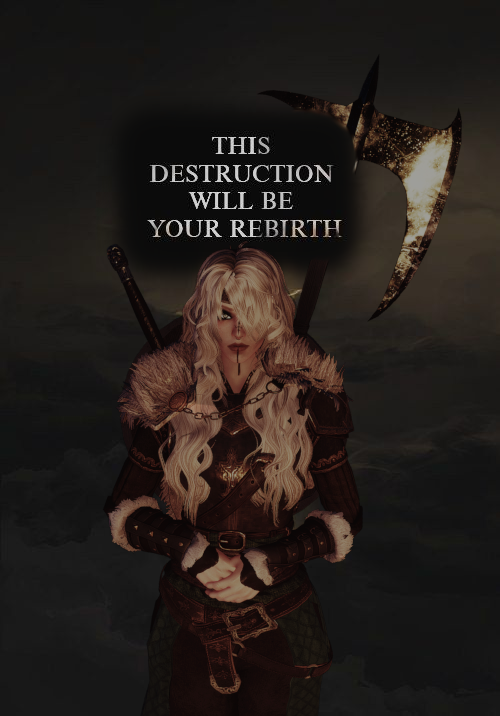
You now have a transparent render ready to use in banners, profile images, wiki pages, posters, advertisements, or any other creative project.
Troubleshooting & Creative Possibilities & Credits
This tutorial is based on the original transparent screenshot guide created by ummplum (Plum)